Demo

The dynamic crossing prefabs currently generate the road geometry only and, optionally, sidewalk sections. More built-in options will follow.
This section shows that in any case, it is fairly easy to enhance the crossings with additional props, line markings, traffic lights or any other prop.
This only has to be done once for the source prefab. Instances in the scene will be generated accordingly.
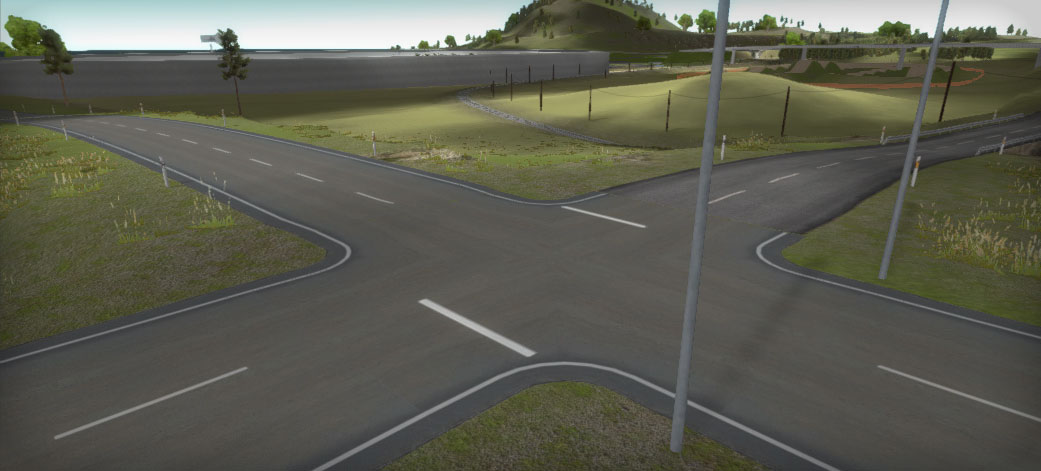
Do a search in the assets folder for "roadDecals". This model includes various mesh objects using the "road_decalMat" material. One of them is the ct_Finish object for which we created a new prefab "Stop Marking". This prefab was added to the ""Primary Road X Crossing source prefab.
For Unity 2018.2 and earlier versions the following steps where taken to add this prefab as a decal to the "Primary Road X Crossing" source prefab:
1. Drop the prefab from "/Assets/EasyRoads3D/Resources/dynamic prefabs/Primary Road X Crossing" in the scene.
2. In the hierarchy the above mentioned "Stop Marking" prefab was added to this source prefab as childs and positioned at the correct spot
3. Update the prefab: Top menu > GameObject > Apply Changes To Prefab
4. Remove the prefab from the scene
In Unity 2018.3 and recent versions this can be done in the Unity prefab editor.
When instantiating a new prefab through the crossings / connectionstab (3rd from the left) in the Inspector the stop markings will be part of the prefab.
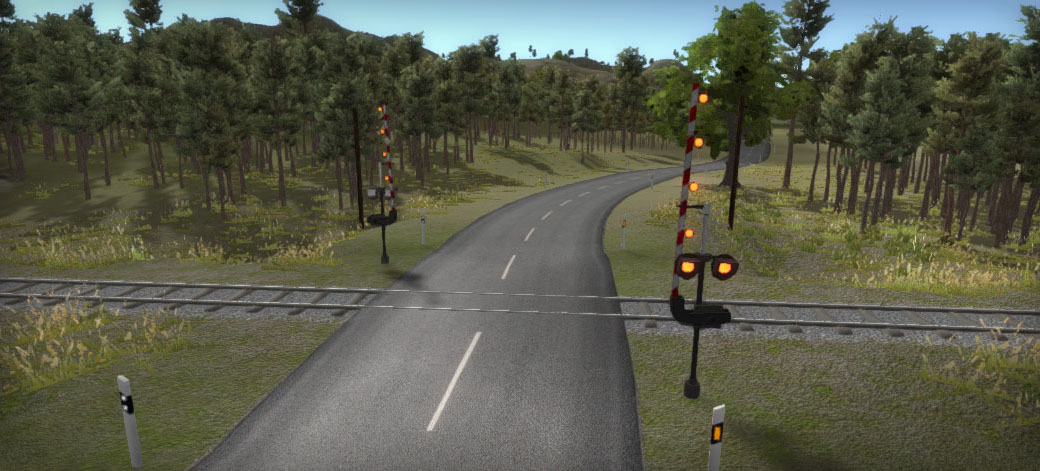
In this example we added the Rail Road Crossing Signal prefab at both sides of the crossing in the same way as in the first example.
1. Drop both the prefab /Assets/EasyRoads3D/Resources/custom prefabs/Secondary - Train Rail Prefab_ER and RailRoadCrossingSignal in the scene or open in it in the Unity prefab editor in Unity 2018.3+.
2. In the hierarchy add RailRoadCrossingSignal to the crossing prefab as a child and position it.
3. Duplicate the RailRoadCrossingSignal and mirror it on the X and Z axis so it is positioned at the other side.
4. Update the prefab: Top menu > GameObject > Apply Changes To Prefab
5. Remove the prefab from the scene
For this prefab we also added two planes (Ground 1 and Gound 2) with the Rail Ground material attached. These planes connect to the Rail Ground side objects on the rail tracks.
Each instance in the scene will have these additonal props automatically added.
This one is more complex. We will go through each child object:
For the the crosswalk signs we manually positioned the first crosswalk sign prefab. Since all crosswalk signs are positioned at the same spot relative to the road, we simply duplicated the prefab, mirrored resp swapped the x,z coordinates and rotated the prefab in 90 degree steps to point in the correct direction.
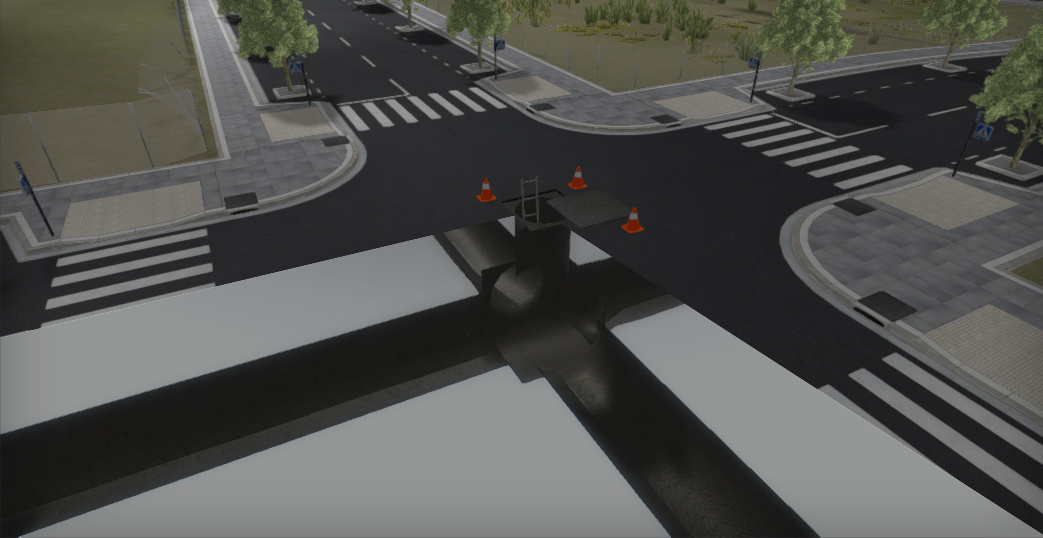
The X Crossing Sewer Cover was added separatedly because we want to be able to lift it up and move it.
"SewerTop" was also added separately although this prefab could be integrated in the main crossing. The current setup however allows the creation of this crossing prefab without the additional sewer prefabs if these are not required.
X Crossing RA Sewer_ER is a nested connection prefab discussed here.

