Demo

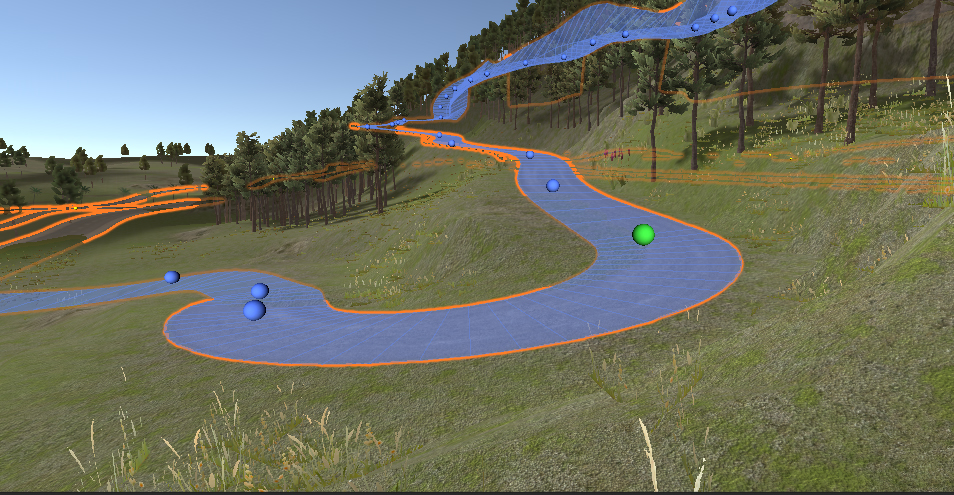
In Edit Mode the road network is laid out over the original terrain. Generally the road will be clearly visible unless the terrain is hilly. The road will disappear partially below the terrain or completely in the case you want the road to cut through an hill.
To improve the visualization of the road shape in these areas the selected road can be highlighted:
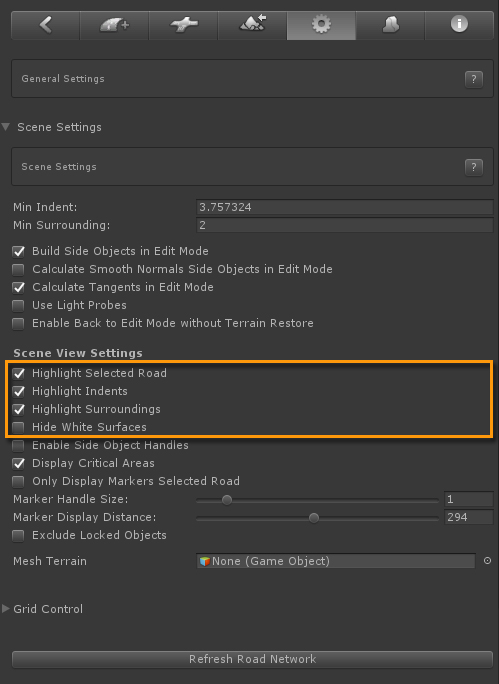
General Settings > Scene Settings > Highlight Selected Road
After activating / deactivating this control in the Inspector, the space bar will act as a hotkey for this. But only if the Scene View window has focus.
The most accurate terrain deformation visualization in Edit Mode is:
General Settings > Scene Settings > Hide White Surfaces
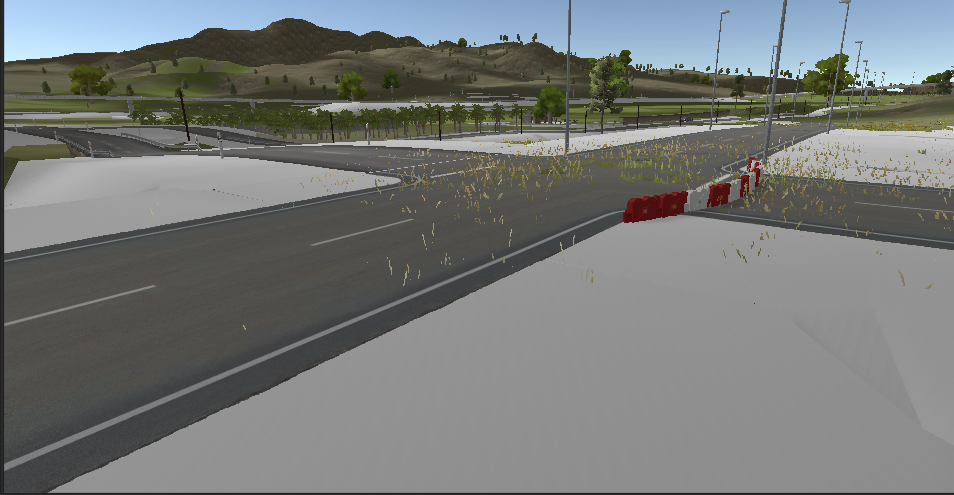
When this is switched off you will see the white surfaces on the road sides and also the crossing sides. This is the first thing to check if there are issues with terrain deformation. It can happen that terrain Indent Alignment settings were changed which will have a direct result on terrain deformation. Displaying these white surfaces will make possible issues visible.
The disadvantage of the white surfaces above is that they are not clearly visible in hilly areas and they are displayed for all road network objects.
If you rather not have all these white surfaces always displayed but you do want a visualization for the selected road then you can use one of the other highlight options in General Settings > Scene Settings: Highlight Indents, Highlight Surroundings or both.
After activating / deactivating these controls in the Inspector, the space bar will act as a hotkey for this. But only if Scene View has focus.
Grid snapping can be a powerful tool when building city environments or race tracks. Road markers and crossings will snap to the nearest grid point resulting in automatic alignment with the grid.
Grid Snapping is activated in General Settings > Scene Settings > Grid Control
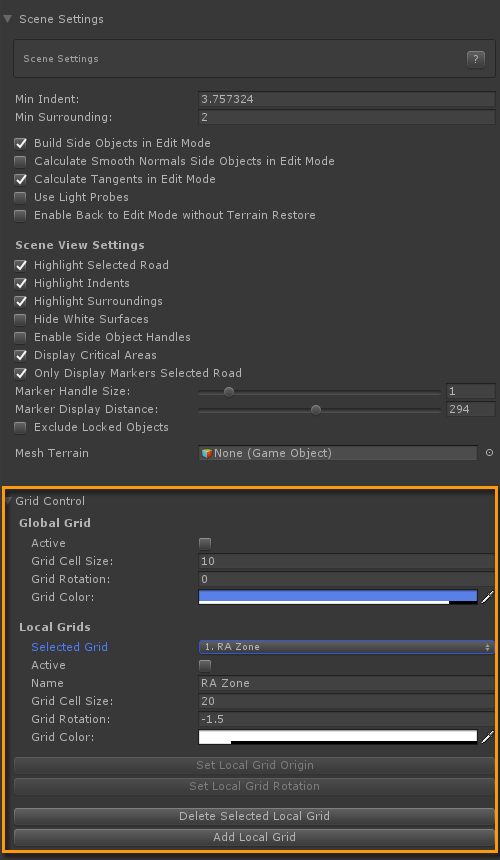
Apart from the Global Grid you can create additional Local Grids for specific zones with different cell sizes and/or rotations and grid colors. The "Set Local Grid Origin" and "Set Local Grid Rotation" buttons will become active when a marker or crossing is selected. The origin and rotation will be set according the selected object. This is useful if you already positioned/rotated an object and you want the grid to use that origin or rotation.
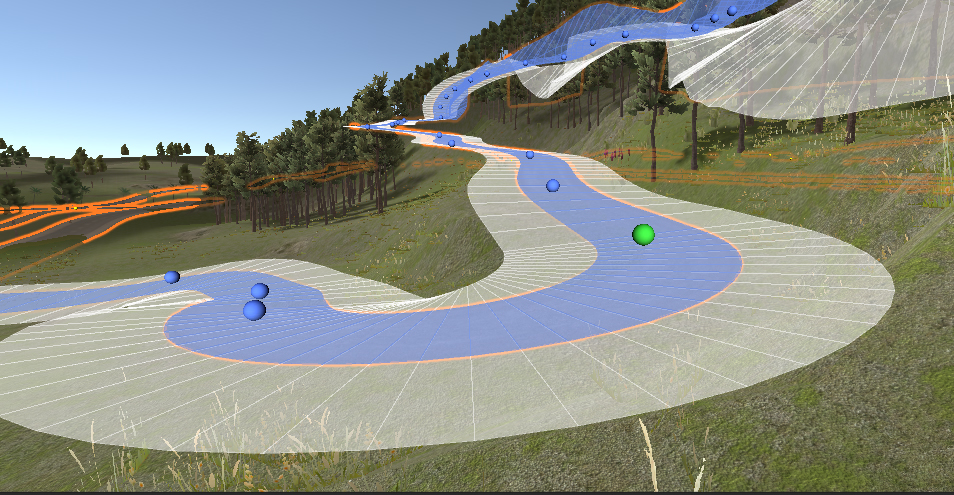
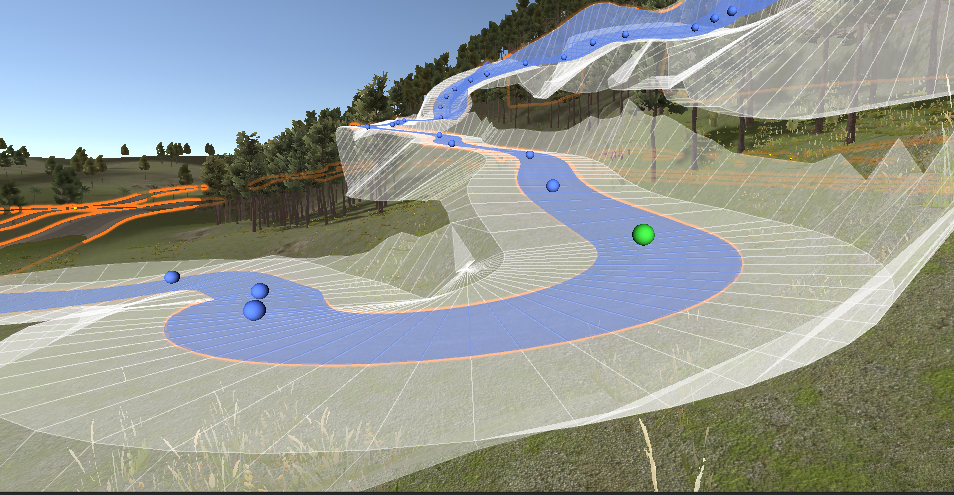
The active Grid will show in Scene View with the grid name at the bottom right. Note the light grid edges on the terrain in the below thumbnail. Road Markers and crossing / connection prefabs will snap to the grid crosspoints.
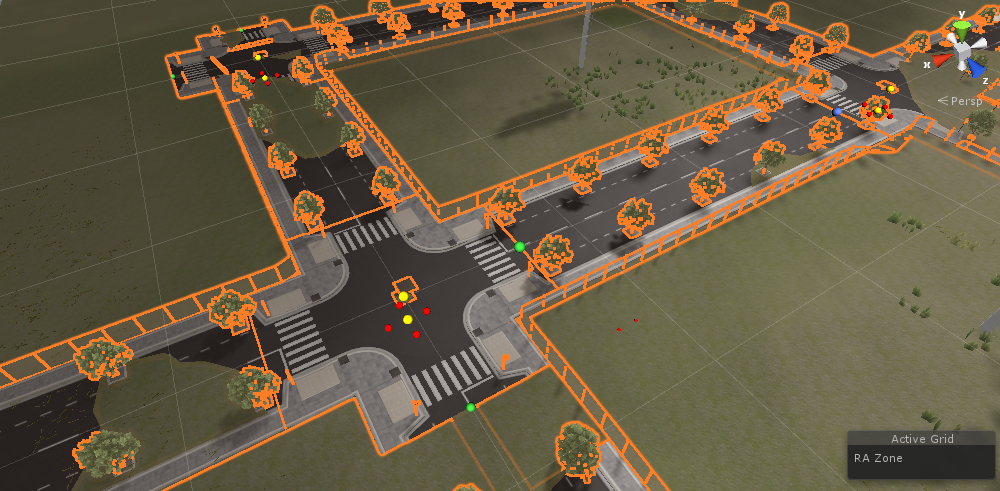
The hotkey J can be used to quickly activate/deactivate the Global Grid, the hotkey K to activate /deactivate Local Grids and the hotkey L to swap through available Local Grids. The Scene View window must have focus for this to work.
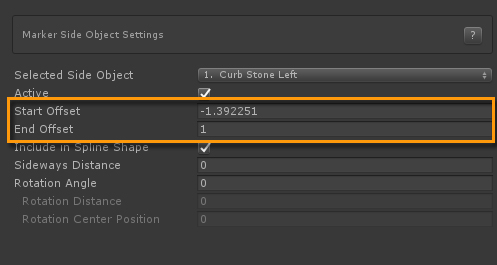
Side object start / end offsets can be fine tuned in the Inspector by selecting the first active resp. last active marker..
As soon as the offset is no longer 0 these offsets can also be changed in Scene View. The H key toggles this on / off.
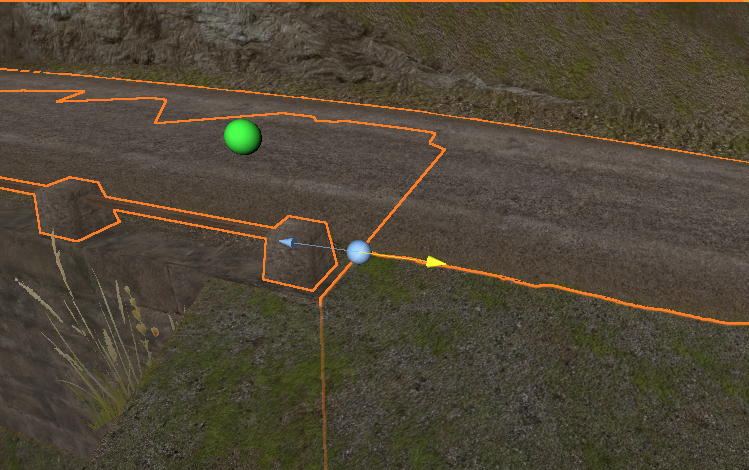
Zoom in to the area and the offset handles will become visible. They will point forwards and backwards and can be moved accordingly. Fine tunning these offsets in Scene View is generally easier then in the Inspector apart from repetitive situations where you already know which offset value to use..
The control behaviour is not completely optimized yet (especially in bends) but it is a more direct way to fine tune the positioning of side objects. If the handle becomes unresponsive, stop dragging it and restart the drag operation.
On complex road networks with many roads and roads having many markers, you may want to optimize the display of the blue marker handles. This can be done in General Settings > Scene Settings

Only Display Markers Selected Road
This is useful in hilly areas where markers of other roads may interfere with thwe markers of the selected road. Clicking in the scene will deselect the road and all other markers will become visible again.
Marker Handle Size & Marker Display Distance
Some users prefer to work on the road network with the scene cam at a further distance, others prefer to work with the scene cam more zoomed in. The Marker Handle Size and Marker Display Distance sliders can be used to optimize the display to your preference.
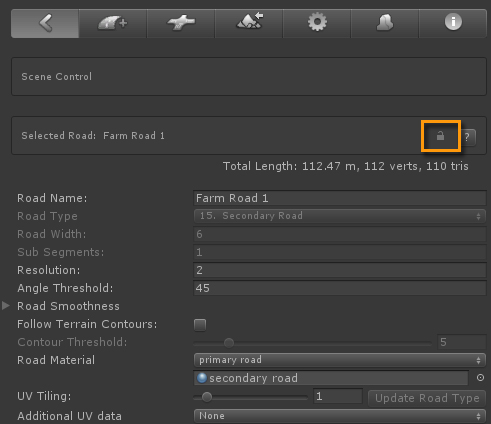
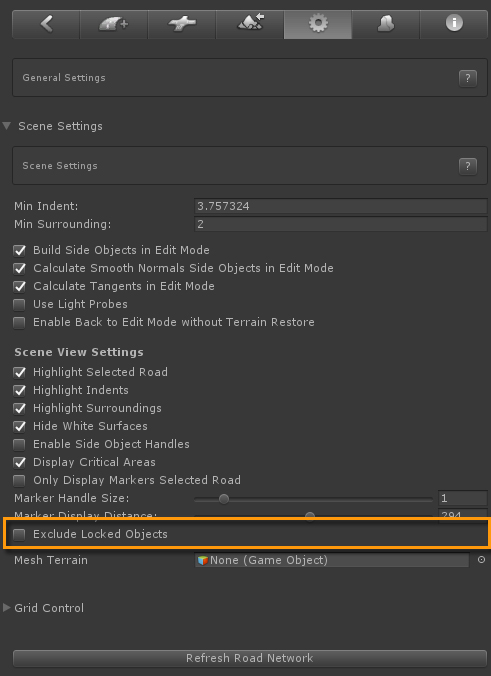
Lock road objects
It is possible to lock road objects that are ready. The lock icon at the right in the header of the selected road displays the status. Locking a road will make the road unselectable, the marker handles will no longer display provided that "Exclude Locked Objects" in General Settings > Scene Settings is toggled on. In that case locked objects can be unlocked by first switching this toggle off. The markers will display again, the road can be selected and unlocked.