Demo

Since all generated objects are ordinary Unity game objects with a mesh renderer component you can use your own materials / textures. The Unity "Standard Shader" can be used optionally with detail textures also on UV channel 4
But the package itself comes with a set of materials / shaders for different situations of which some also use UV channel 4 for detail.
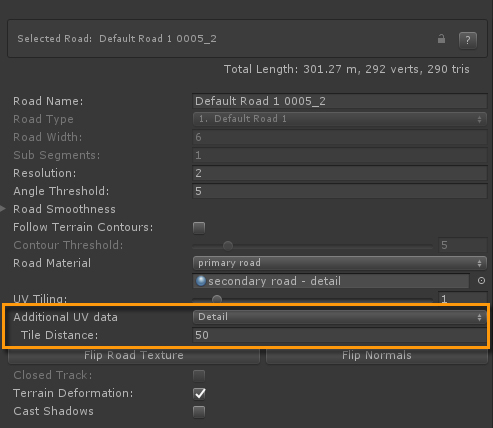
The "Additional UV Data" (just below the main UV Tiling control) can be set
in the Inspector for the selected road. For the materials and shaders covered in this tutorial you want to select "detail" from the dropdown. The coordinates will tile according the entered distance. The detail texture will be added to the road mesh accordingly. The "Terrain" option will add additonal UV coordinates relative to the terrain bounds.
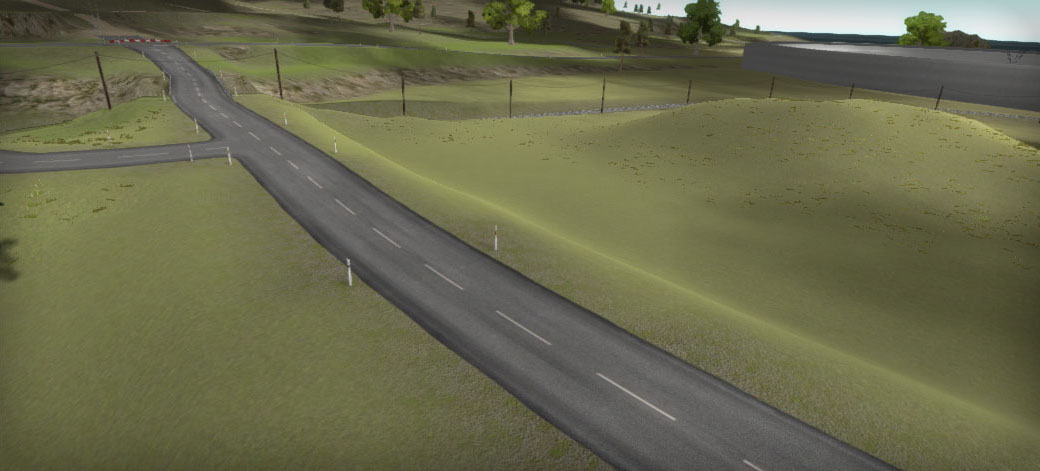
This shader uses the UV4 channel for the detail texture, in this case a soft cloud type of texture with additional noise. The result is lightness / darkness variation along the track making it less monotone then when using a single tiled texture.
The default greyscale color matching the main road texture is (0.5, 0.5, 0.5).
The texture is tiled over the "Tile Distance" value defined in the Inspector of the road.
Because the detail texture fades to greyscale color(0.5, 0.5, 0.5) at the top and bottom the roads will still seamlessly connect with crossings.
![]()
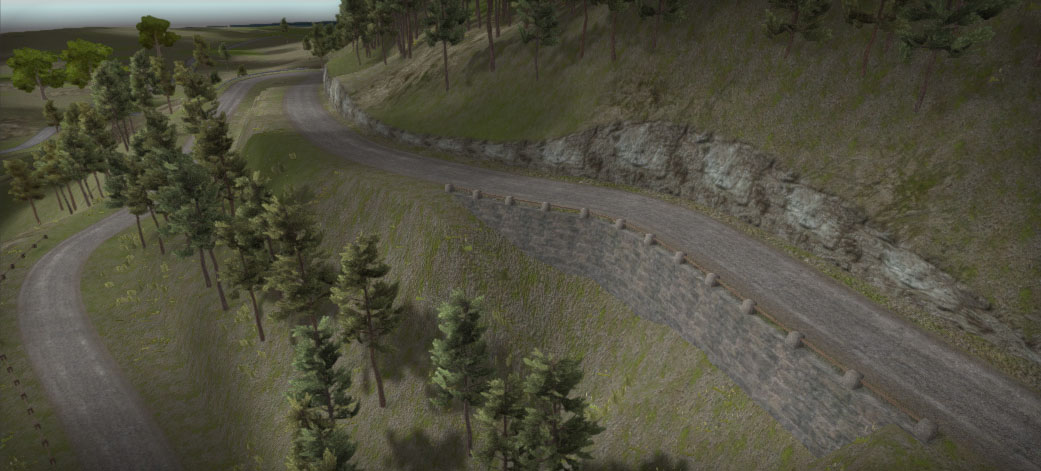
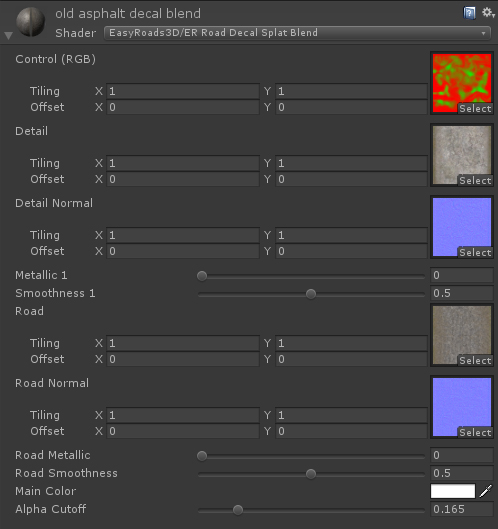
Usually you want dirt type of tracks blend with the terrain. A transparent shader is required. Unfortunately the Unity Standard transparent shader does not receive shadows. As a workaround we used decal:blend. Shadows will be projected on the track in a similar way as it would have done on the underlaying object, the terrain. Usually this works well as roads generally are laid out on top of the terrain.
Fading the road with the terrain at the start and end can be controlled by the Fade In / Fade Out Distance values in the Inspector of the selected road. You can find these controls near the bottom of the marker settings when the first respectively last marker is selected.
![]()
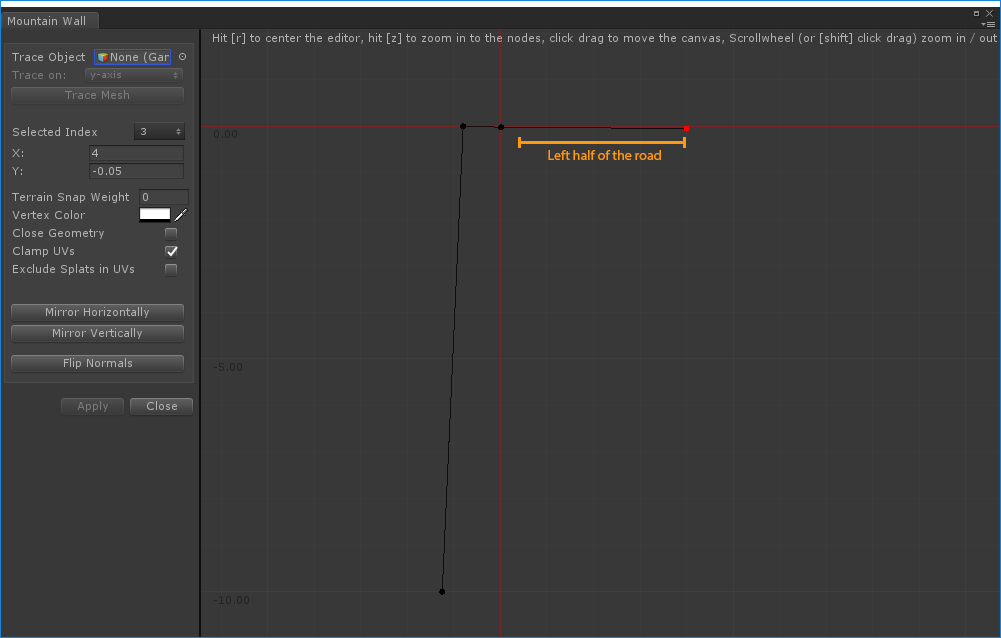
Additional to the decal:blend workaround and the limitations of this shader, take the mountain road as an example. This road also uses decal:blend for soft blending near the road edges on the left and right side. This road has wall side objects assigned in a ways that the terrain will not be leveled at the exact road height in these areas. In this situation the shadows on the terrain below the road will not look good on the road. To deal with that the wall side object shape continues horizontally to just passed the center of the road (this is where the terrain will be aligned with the road again). As a result the shadows on this horizontal part of the wall are now projected on the road.
This shader uses a splatmap type of approach to blend two textures. The second texture is blended with the main texture based on the splatmap color for which UV4 channel is used, you can control the tiling of this like mentioned above. By using a splatmap for the blending, textures with more definition can be used. It works similar as terrain splatmapping.
The shader can be expanded with 2 more textures using the b and a channels of the splatControl texture in the shader.
The tile distance can be set in the main road settings in the Inspector, Additional UV Data > Detail > Tile Distance
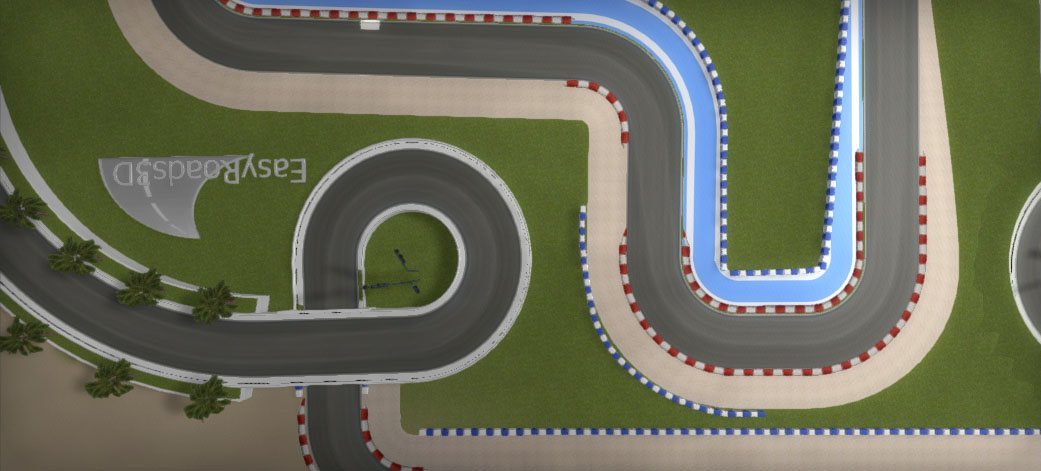
This shader blends the racing line in the road texture.
This is done by setting the UV4 Tile Distance to the exact length of the track which is displayed at the top in the Road Inspector below the road name.
A shape type of side object was used to define the racing line on the track. An additional script was used to plot this line on a Texture2D as a reference which was saved in a png file and further optimized. The end result are the track_shape textures used for adding both detail as smoothness.
For higher definition or on longer tracks you could break the track in pieces and use different materials per segment.
Let us know if you like this type of thing, we can extract a package of the assets used to create the perfect line shape.

This one is more advanced. The bike track actually is a shape type of side object with different terrain snap values for each node. This can be set in the editor window of Shape Type of side objects accessible from the Side Object Manager tab. The outer nodes fully snap to the terrain and because the side object is marked as a "Terrain Surface Object", the normals will match the terrain normals on the outer vertices.
Vertex colors can be assigned to each node in the Shape Editor window as well. The color alpha values for the nodes defining the main track are set to 1. All other nodes are set to alpha 0. In the shader the track dirt sand segment is generated from the main uv channel. The terrain next to the dirt sand track is based on the uv4 data, the terrain splatmap and terrain splat textures are used so it seamlessly blends with the original terrain. The final outcome is based on the vertex alpha color value.

To simulate the terrain splatmap, the terrain color map is assigned to the Control map slot and the terrain splat textures to the respective Terrain Splat slots. The tiling values are calculated as follows: Terrain Size / Size (in the terrain texture settings).
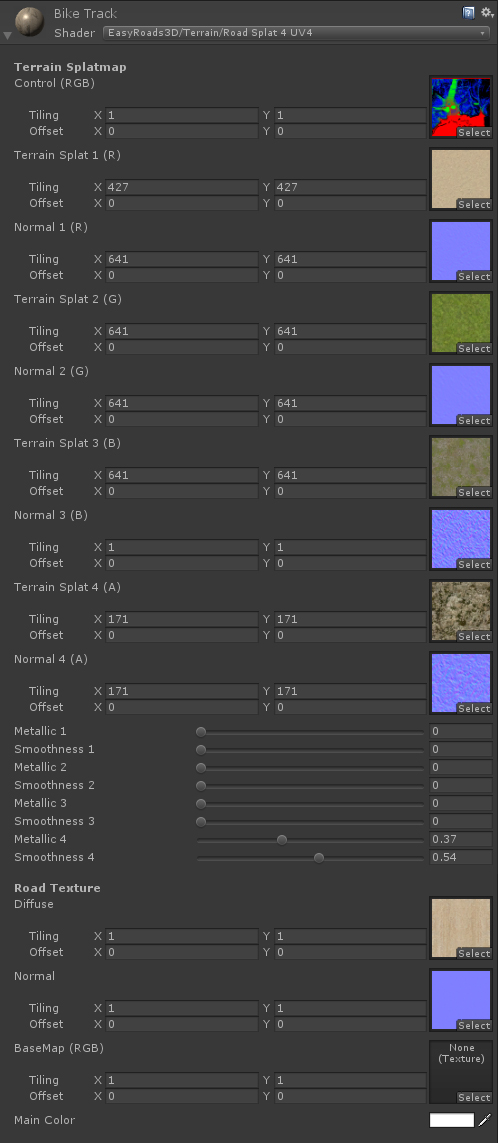
This example is experimental and is just to show how other things can be done with the tool. Support for Metallic/Smoothness textures could be added and a wizard to auto assign the terrain splat textures and tiling values. Please let us know if you are interested in that.
The shaders will be expanded further to also support texture input for metallic/smoothness emission and more shader types will follow, also for crossings. Crossing meshes already have UV4 data available relative to the bounds of the road geometry (excluding possible sideways). This together with detail textures can be used for example to blend tire tracks in different directions.

