Demo

This is a provisional utility that will be expanded with more options and implemented in the tool itself.
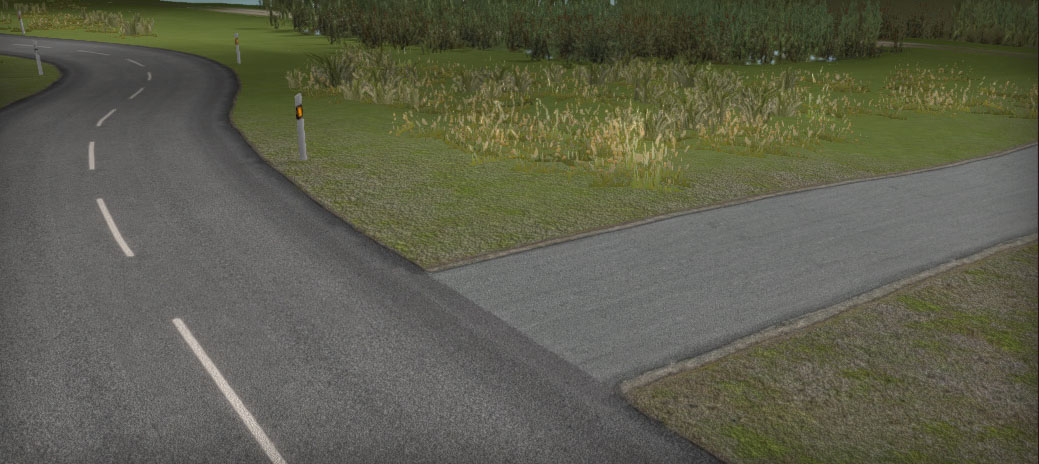
It can be used to create low poly T, X crossings from available road types.
You can define how the connected roads will merge with the main road on both the left and right side. Matching texture areas can be extracted as a reference for the final texture. These textures will be packed in a texture atlas so multiple crossings can be created using the same material.
The texture atlas system is optional in case you want to optimize material usage and keep the number of textures to a minimum. Alternatively you could use a new texture for the full road which by itself is easier and gives more control over for example tire track markings.
1. Drop an empty game object in the Scene
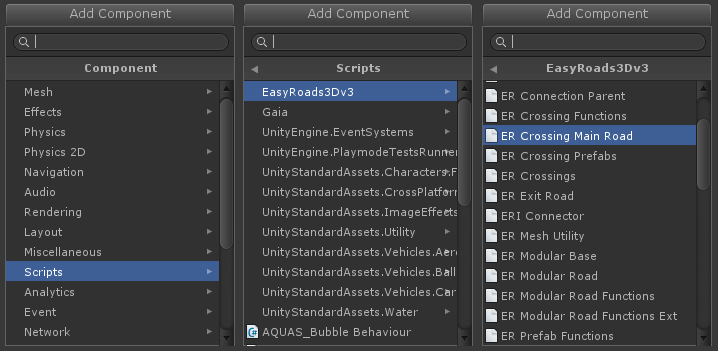
2. Inspector > Add Component > Scripts >EasyRoads3D > ER Crossing Main Road
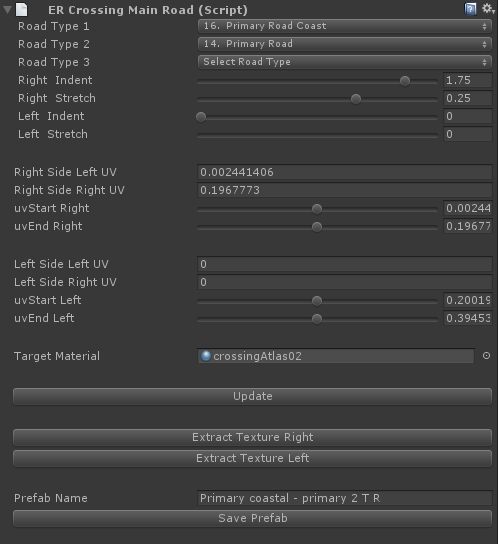
Road Type 1: This is the main road
Road Type 2: This is the road on the right side (optional)
Road Type 3: This is the road on the left side (optional)
Right Indent: The distance over which the right road will be merged inside the main road (optional)
Right Stretch: The amount of vertical stretching of the Right Indent area. The available space depends on the road width of the involved roads. Streching the area will cut out a larger area vertically resulting in more texture space to add defintion to the road edges.(optional)
Left Indent: The same as above for the left road (optional)
Left Stretch: Thesame as above for the left road (optional)
Right Side Left UV: The UV coordinate at the left side for the right road inside the main road. This is explained below.
Right Side Right UV: The UV coordinate at the right side for the right road on the edge of the main road. This is explained below.
Left Side Left UV: The UV coordinate at the left side for the left road on the edge of the main road. This is explained below.
Left Side Right UV: The UV coordinate at the right side for the left road inside the main road. This is explained below.
Target Material: The material that will be used for this crossing
After selecting the road types the geometry is adjusted and the prefab could already be saved by pressing the "Save Prefab" button near the bottom. This will create a prefab from which a new custom crossing can be created (custom crossings in the manual / custom crossing tutorials) . Since we didn't define Indent areas a texture for the full crossing mesh must be prepared unless you want to connect the roads using the same textures. This last approach is used in the demo project with various asphalt / dirt crossings. The asphalt texture simply continuous on the crossing prefab.
We will however continue and generate a texture atlas.
Moving the right Indent slider will update the geometry. Because we did not yet assign a material to the Target Material, the newly created triangles will render in pink.
So let's prepare the material. For now we simply create a new blank texture, assign it to a new material and set this material to the target material slot in the Inspector (Look for "Target Material" in the above thumbnail). The pink area will turn white.
Visualize this area as covered by Road 2 and move the slider up to where you want the right road overlap the main road (Road 1). For a standard road like in the above screenshot this will not be too much. But for road textures like the Primary Coastal Road in the demo project you want this Indents area cover the full distance of the concrete sides up to the asphalt part.
Optionally you can use the stretch slider to add vertical stretching. You will see the inner area expand. This will create space on the texture for drawing that typical circular type of road shape where roads connect.
The same steps can be followed for road 3 on the left side.
Note: The system expects the main road to be wider then the connected roads. Errors may be raised at this point when this is not the case.
The next step is extracting the textures based on the defined Indent areas. Click "Extract Right Texture ".
A Save File Panel will appear, this will save the extracted area from the main road matching the Right Indent area on the next available space on the atlas texture. It will be saved in a new png file
Another Save File Panel appears, this will save the Right Indent area of the second road to a new png file.
The second texture can now be copied to the texture atlas. When strecthing is 0 the height will match the texture atlas height. When stretching is used the height will be smaller. In that case this texture should be centered vertically on the texture atlas texture. It will seamlessly connect with the connected road.
You now have a clear reference of both textures. The final texture can be modified as desired within the given boundaries.
The same process can be followed for the left side of the crossing by clicking "Extract Left Texture".
Based on the position on the texture atlas, at this point the above Right Side Left UV and Right Side Right UV U coordinates are now set. You may want to store this info somewhere together together with the involved road types. When creating a new similar crossing with the same road types on one side you can simply enter these coordinates in the respective fields and reuse the texture atlas for this new crossing connection.
For this purpose both texture atlas pixel info and UV info is printed to the console and can be copy / pasted to a log file.
Once your finished with the set up you can enter a name for the new crossing and press the "Save Prefab" button. The new prefab will be saved in /Assets/EasyRoads3D/prefab sources/
